


项目概述
FastAPI是一个高性能的Web框架,旨在简化API的开发过程,支持异步编程,易于学习和使用,适合生产环境。它基于Python,能够快速构建高效的RESTful服务。
项目地址
https://github.com/fastapi/fastapi
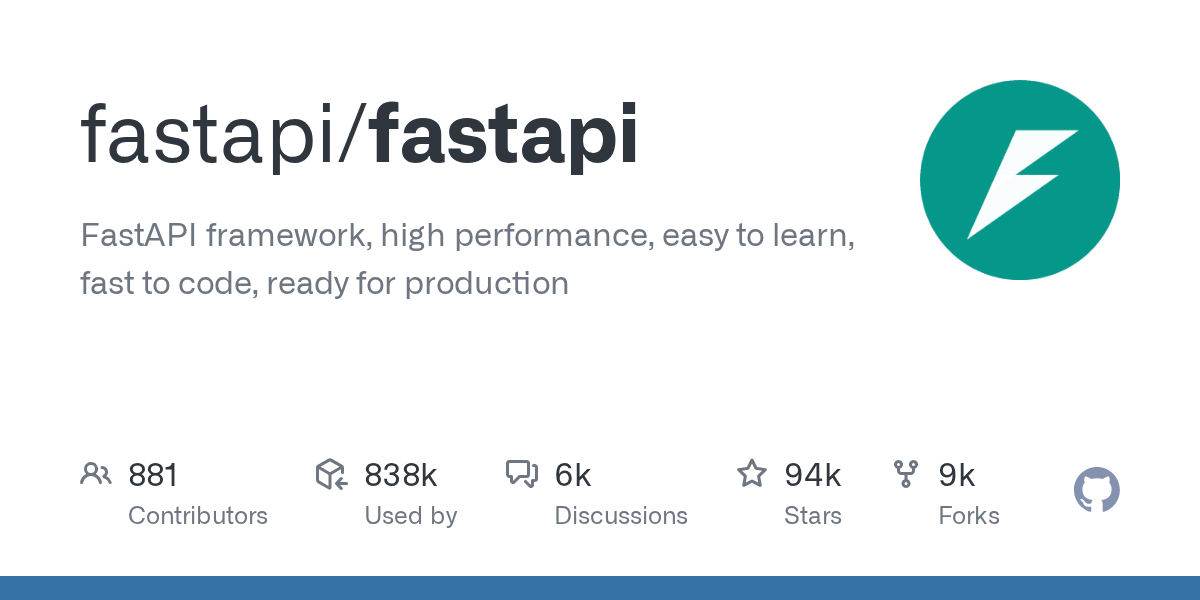
项目页面预览
关键指标
- Stars:94102
- 主要语言:Python
- License:MIT License
- 最近更新:2026-01-12T10:13:31Z
- 默认分支:master
本站高速下载(国内可用)
点击下载(本站镜像)
– SHA256:f51cdf5362043b22947056233a2fe6df42a3d175c45be9e476e0a4f70d5327f9
安装部署要点(README 精选)
Installation
Create and activate a virtual environment and then install FastAPI:
$ pip install "fastapi[standard]"

---> 100%
Note: Make sure you put "fastapi[standard]" in quotes to ensure it works in all terminals.
Run it
Run the server with:
$ fastapi dev main.py

 ╭────────── FastAPI CLI - Development mode ───────────╮
 │                                                     │
 │  Serving at: http://127.0.0.1:8000                  │
 │                                                     │
 │  API docs: http://127.0.0.1:8000/docs               │
 │                                                     │
 │  Running in development mode, for production use:   │
 │                                                     │
 │  fastapi run                                        │
 │                                                     │
 ╰─────────────────────────────────────────────────────╯

INFO:     Will watch for changes in these directories: ['/home/user/code/awesomeapp']
INFO:     Uvicorn running on http://127.0.0.1:8000 (Press CTRL+C to quit)
INFO:     Started reloader process [2248755] using WatchFiles
INFO:     Started server process [2248757]
INFO:     Waiting for application startup.
INFO:     Application startup complete.
About the command fastapi dev main.py…
The command `fastapi dev` reads your `main.py` file, detects the **FastAPI** app in it, and starts a server using Uvicorn.
By default, `fastapi dev` will start with auto-reload enabled for local development.
You can read more about it in the FastAPI CLI docs.
Deploy your app (optional)
You can optionally deploy your FastAPI app to FastAPI Cloud, go and join the waiting list if you haven’t. 🚀
If you already have a FastAPI Cloud account (we invited you from the waiting list 😉), you can deploy your application with one command.
Before deploying, make sure you are logged in:
$ fastapi login

You are logged in to FastAPI Cloud 🚀
Then deploy your app:
$ fastapi deploy

Deploying to FastAPI Cloud...

✅ Deployment successful!

🐔 Ready the chicken! Your app is ready at https://myapp.fastapicloud.dev
That’s it! Now you can access your app at that URL. ✨
Deploy to other cloud providers
FastAPI is open source and based on standards. You can deploy FastAPI apps to any cloud provider you choose.
Follow your cloud provider’s guides to deploy FastAPI apps with them. 🤓
常用命令(从 README 提取)
(未提取到命令块)
通用部署说明
- 下载源码并阅读 README
- 安装依赖(pip/npm/yarn 等)
- 配置环境变量(API Key、模型路径、数据库等)
- 启动服务并测试访问
- 上线建议:Nginx 反代 + HTTPS + 进程守护(systemd / pm2)
免责声明与版权说明
本文仅做开源项目整理与教程索引,源码版权归原作者所有,请遵循对应 License 合规使用。

暂无评论内容